How to do a Software Conversion
📚 What This Guide Covers
This guide shows you how to perform a software conversion to move prior year data into your current SureFire software.
- Preparation - Logging in as Admin
- Conversion - Running the conversion utility and adding files
- Carry Forward - Moving the converted data into the current year software
⚠️ Before You Begin
- Ensure you have the admin username and password.
- Ensure you have the proper year conversion file or folder.
📊 Step-by-Step Guide
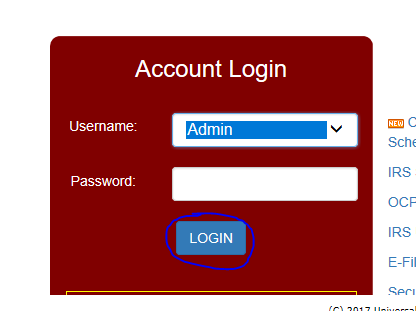
Step 1: Sign in as Admin
Sign in with the admin username to access conversion tools.
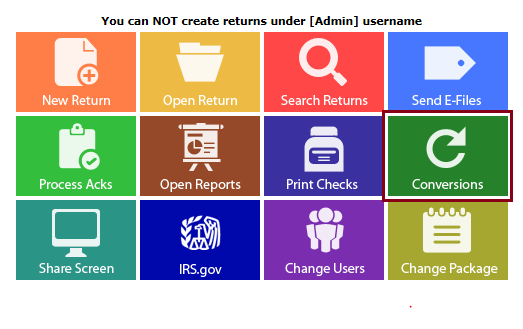
Step 2: Open Conversion Utility
Click on the conversion tile on the main screen in the software.
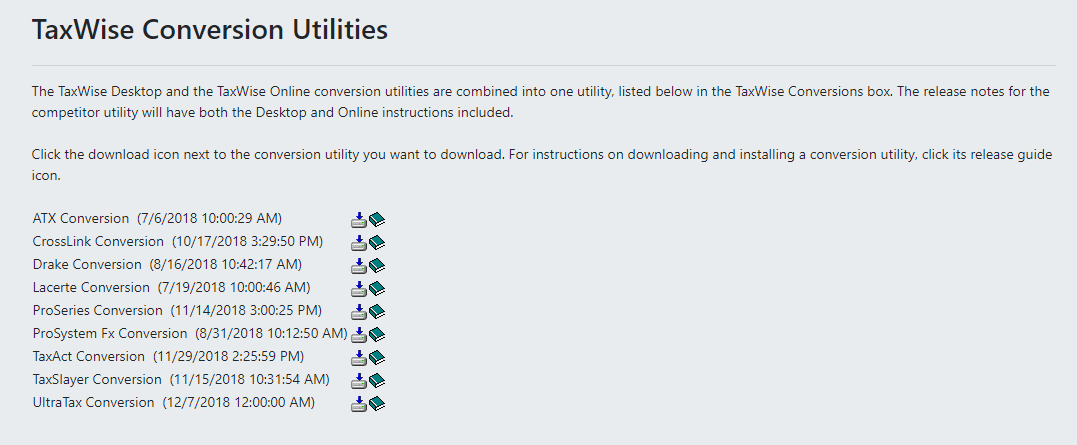
Step 3: Select Your Conversion
Click on the link that goes with the conversion that you are trying to complete.
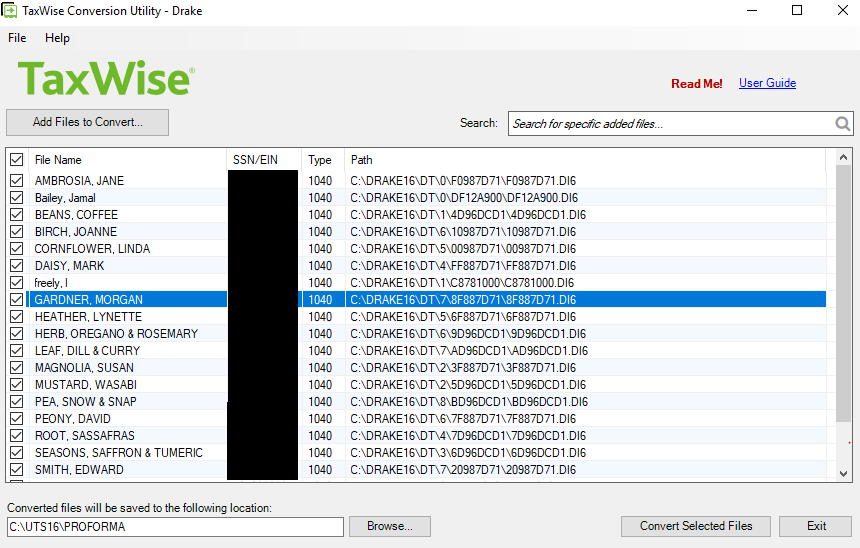
Step 4: Add Files to Convert
Run the setup, then click "Add Files To Convert" in the top right.
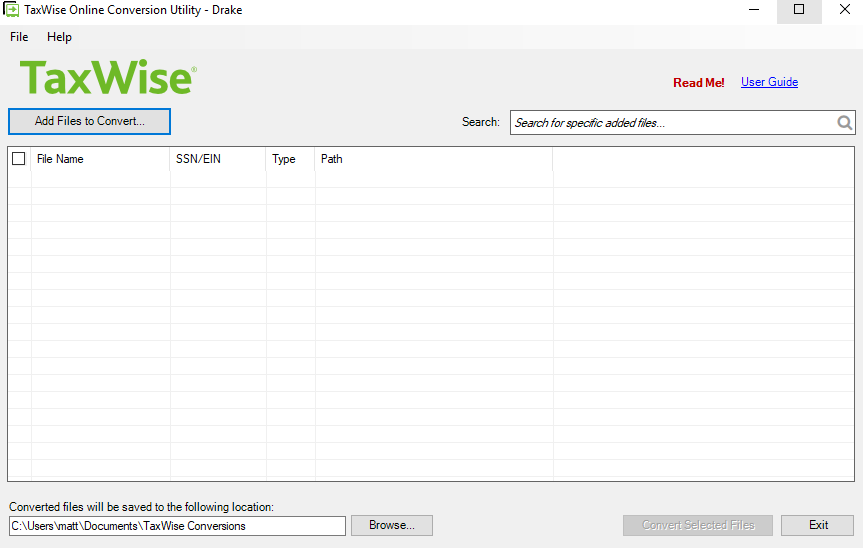
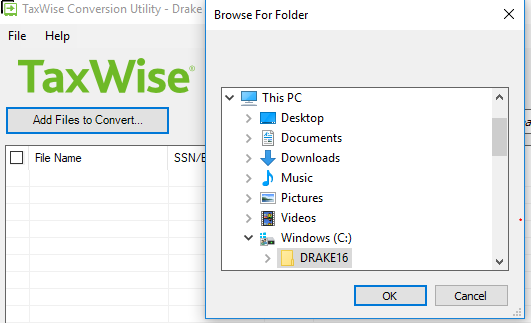
Step 5: Pick Conversion Folder
The software should auto-pick the folder if using the proper year. Click OK.
Step 6: Convert Selected Files
Verify the prior year returns are loaded and selected, then click "convert selected files."
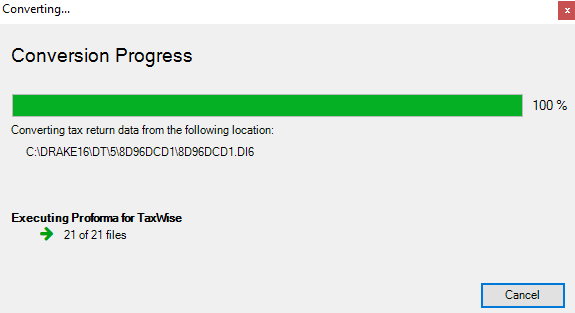
Step 7: Monitor Progress
Wait for the software to convert the files.
Step 8: Close Conversion Tool
Once finished, click on close.
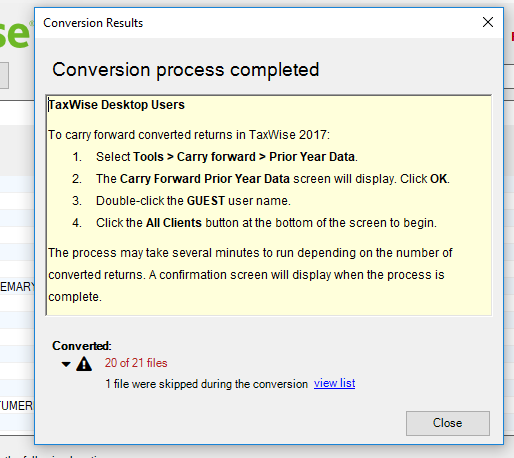
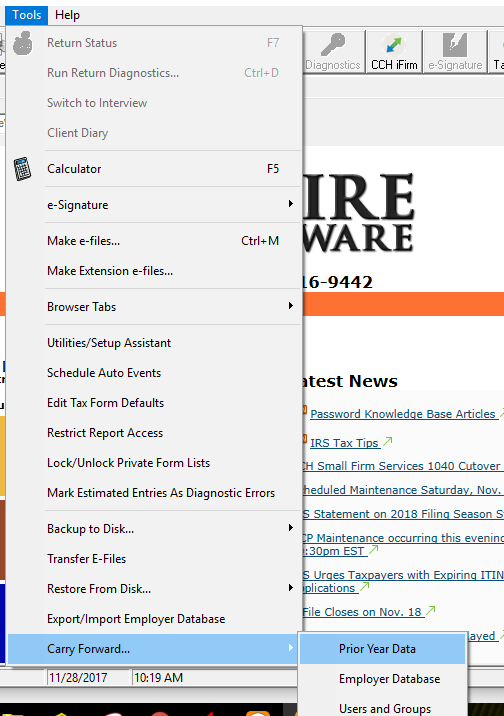
Step 9: Carry Forward Prior Year Data
In your current software, go to Tools > Carry Forward > Prior Year Data.
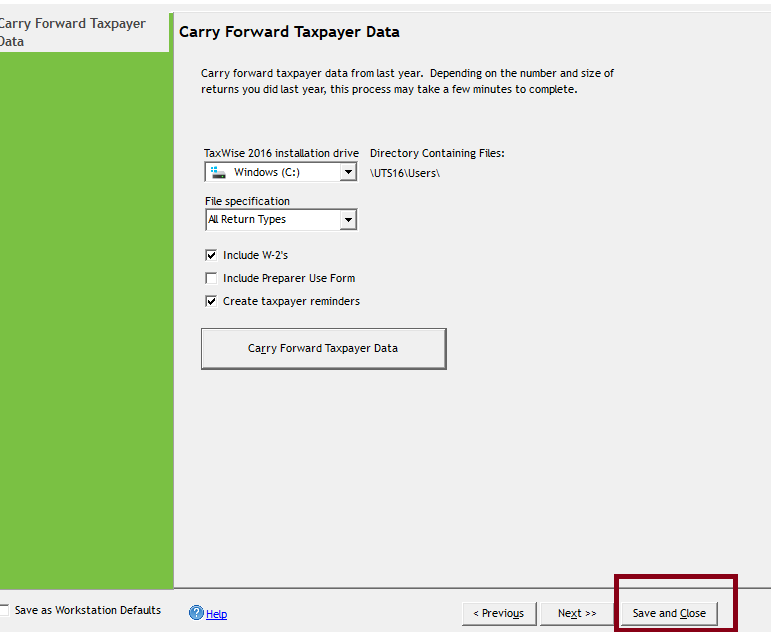
Step 10: Carry Forward Taxpayer Data
Click the "Carry Forward Taxpayer Data" button.

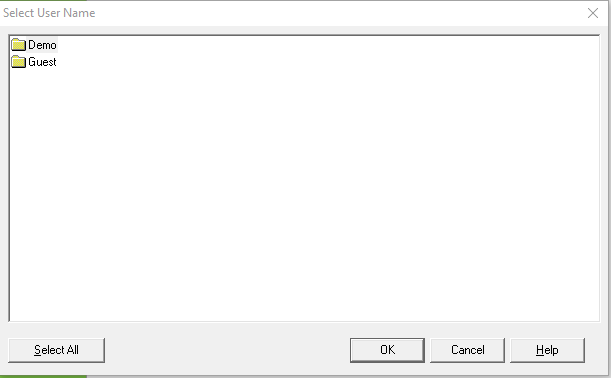
Step 11: Select User
Select the username that has the files you want to convert, then click OK.
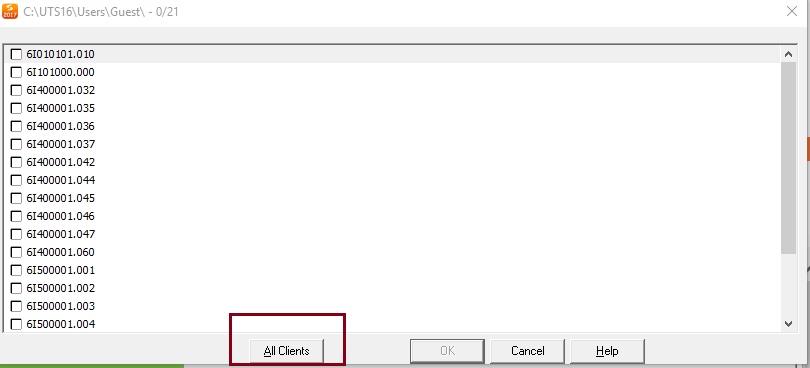
Step 12: Select Returns
Hit "All Clients" in the bottom left and hit OK.
Step 13: Save and Edit
Once complete, hit "Save and Edit."
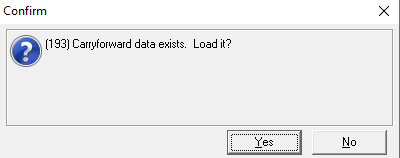
Step 14: Pull Up New Return
Start a new return with the SSN under a non-Admin user. Click "Yes" to carry forward.
📞 Still Need Help?
If you are having trouble, contact our support team:
Phone: 1-800-516-9442
Tags: install,setup,getting-started