How to Setup and Install the Desktop Software
📚 What This Guide Covers
This guide walks you through the complete installation and setup process for SureFire Desktop Tax Software. You will learn how to:
- Enter your EFIN and registration code - Validate your license
- Choose installation options - New install or use prior year data
- Configure office and preparer information - Set up your office defaults
- Create user accounts - Set up administrator and guest accounts
- Enable carry forward - Import prior year returns
⚠️ Before You Begin
You will need:
- Your EFIN number - Found in your SureFire account
- Your registration code - Provided with your software purchase
- Prior year data (optional) - If upgrading from a previous version
- Internet connection - For the download and installation process
📊 Step-by-Step Installation
Step 1: Run Setup and Enter Your License Information
The setup wizard will open automatically. You'll need your EFIN and registration code to proceed.
- Run the setup file on your computer
- In the first dialog, enter your EFIN number
- Enter your registration code in the field provided
- Click Validate Code
- Wait for the confirmation message: "You have successfully validated your registration code"
- Click Next to continue

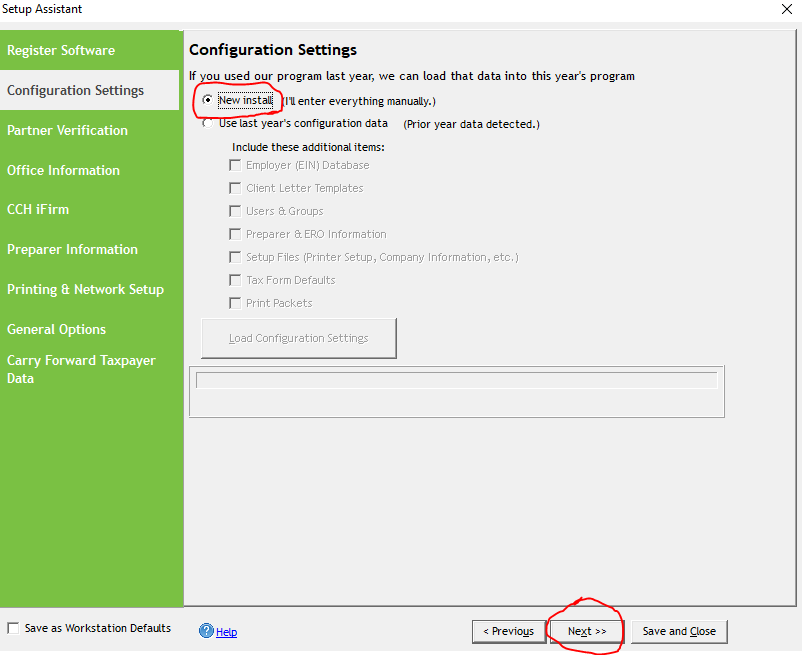
Step 2: Choose Your Installation Type
Select whether this is a new installation or if you want to import settings from a previous year.
For New Installations:- On the next screen, select New Install
- Click Next to continue
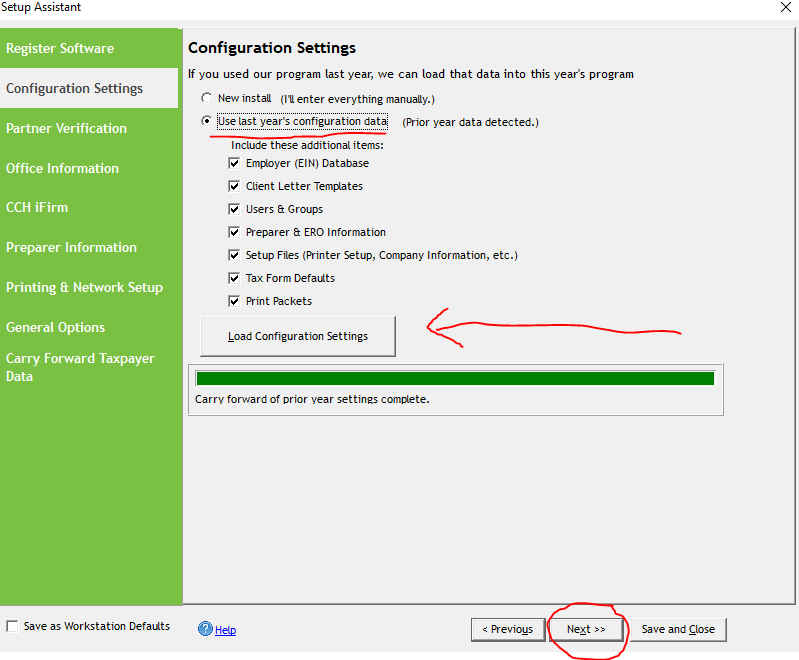
- Select Use Last Year's Configuration Data
- Click Load Configuration Settings
- Once complete, click Next
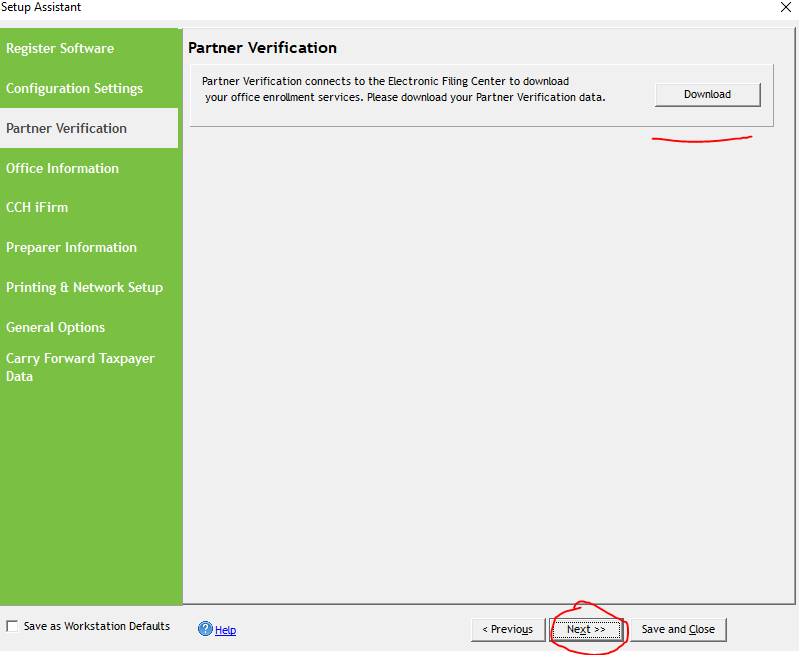
Step 3: Download Additional Components
The software will download necessary updates and modules.
- Click the Download button
- Wait for all components to download completely
- Click Next when the download is finished
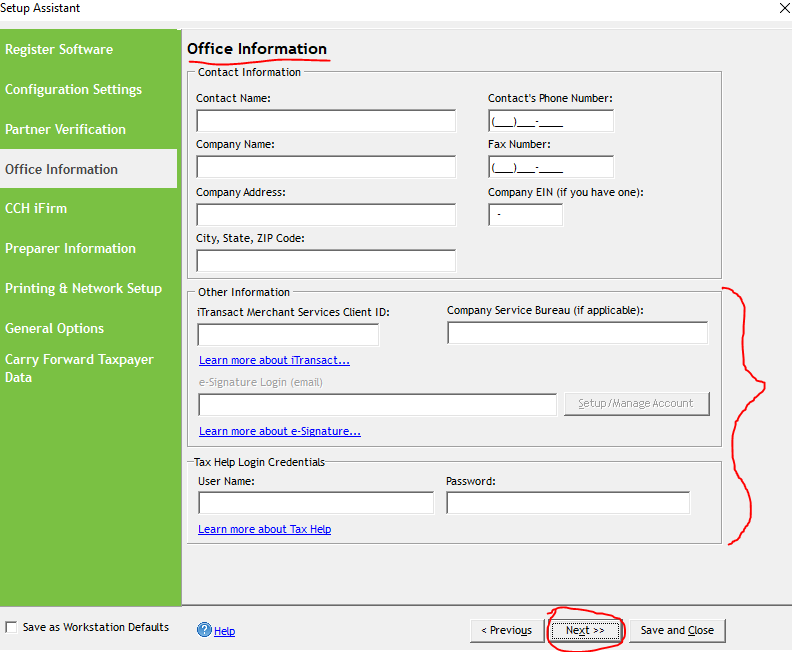
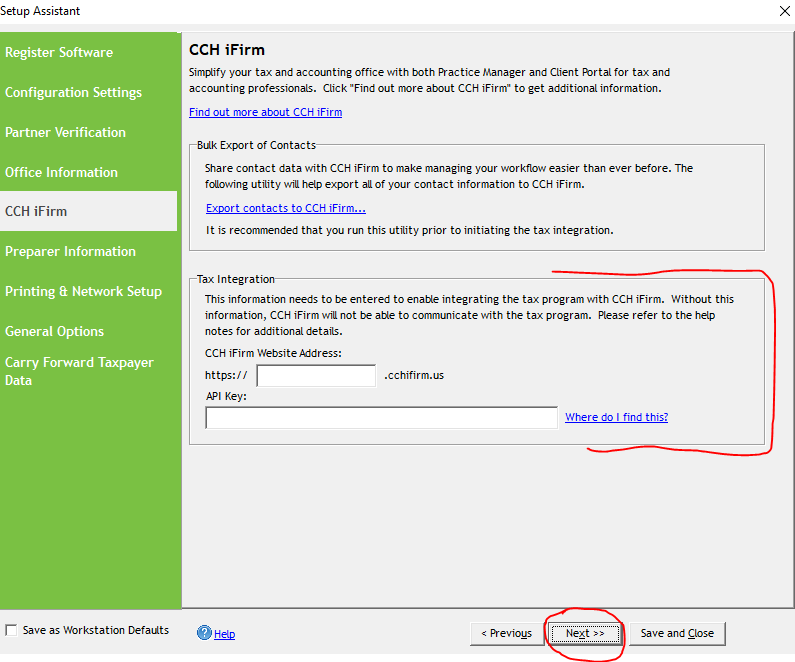
Step 4: Enter Office Information
Fill in your office details. Only enter signature and tax help login information if you're certain it's correct.
- On the Office Information screen, fill in all required fields with your business details
- For Signature/Tax Help Login, only complete this if you are certain the information is correct
- If you're unsure about this information, skip it for now - you can add it later
- Click Next
Step 5: Skip Advanced Authentication (If Unsure)
If you're not certain about advanced authentication settings, skip this step for now.
- If you don't have authentication credentials ready, click Skip
- Click Next to proceed
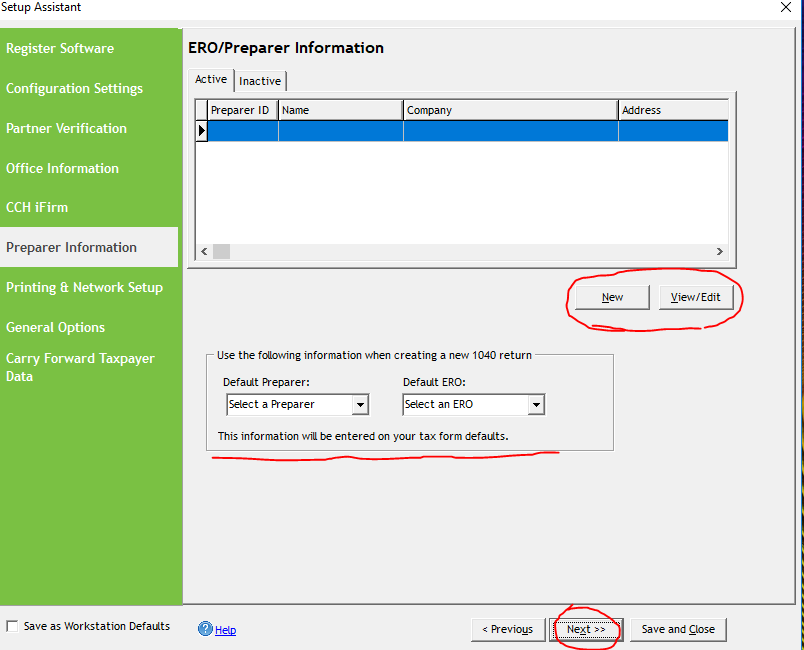
Step 6: Add Preparer Information
You can add preparers here. This information can be modified later in the software if needed.
- On this screen, you can add preparers who will appear as default options when running the program
- Add the names and information for your preparers
- Click Next
- Note: These settings can be changed anytime from within the software
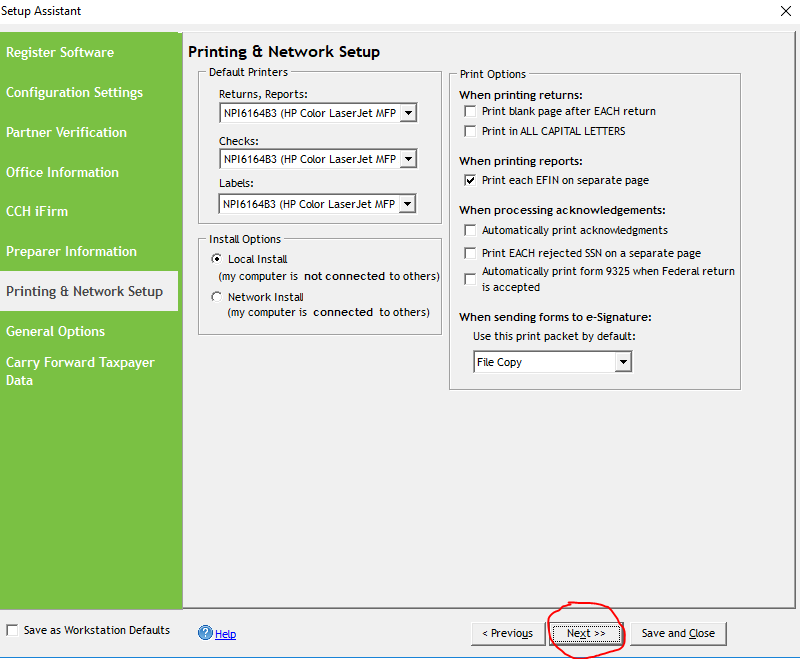
Step 7: Review Printer Configuration
These settings are typically auto-filled and don't require manual changes.
- Review the printer configuration screen
- Most settings will be pre-filled automatically
- Click Next to continue
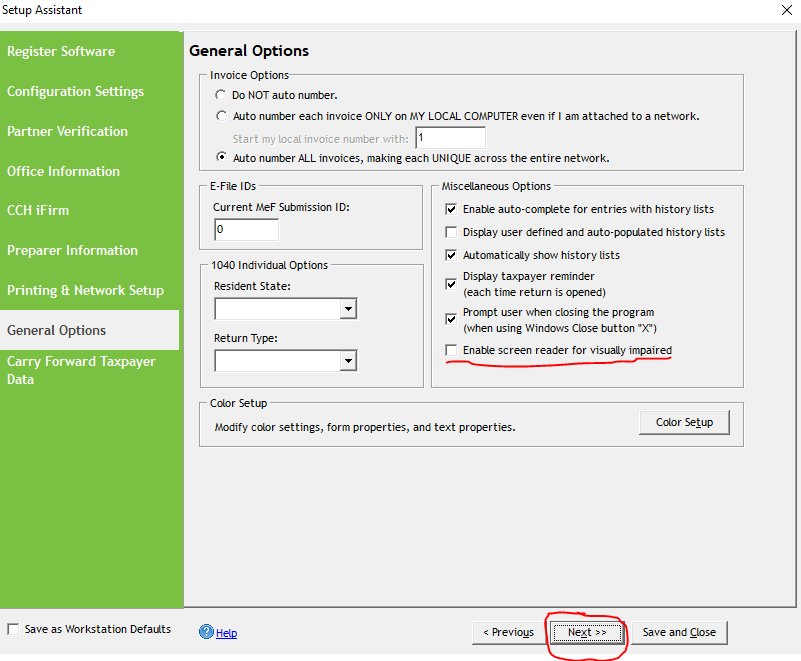
Step 8: Configure General Options
Important: Make sure the screen reader option is disabled unless you need it for accessibility.
- On the General Options screen, review all settings
- DO NOT check the box labeled "Enable screen reader for visually impaired" unless you need it
- This setting is specifically for blind users and can make the interface harder to read for others
- Click Next
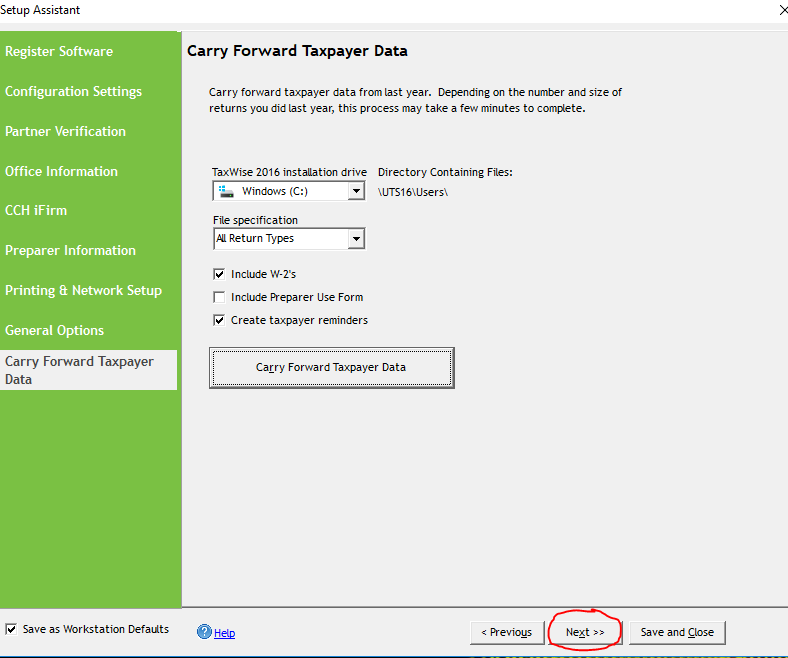
Step 9: Enable Carry Forward for Prior Year Data
This step imports prior year client information into the new installation.
- On the Carry Forward screen, click Carry Forward button
- Check the box labeled Save as workstation default - this helps with network installations
- Wait for the carry forward process to complete
- Click Next when finished

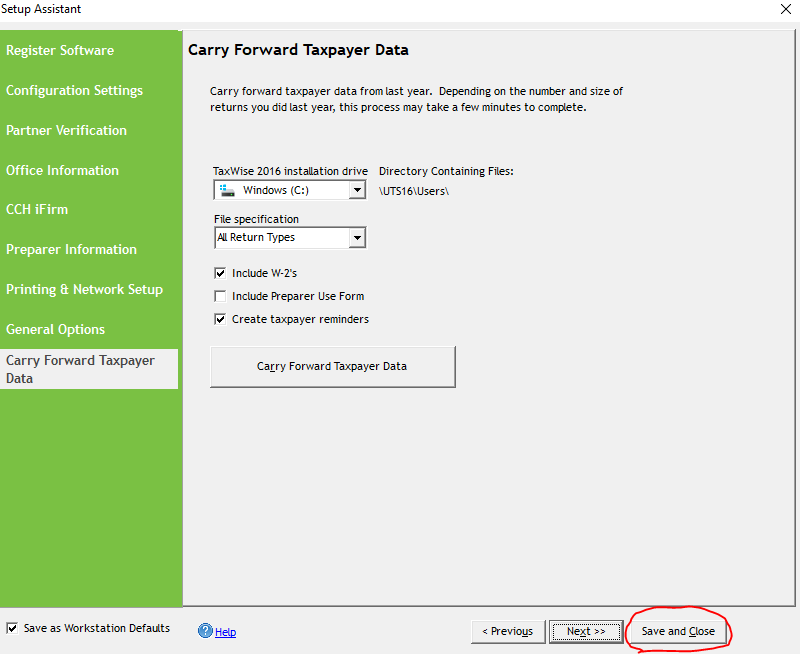
Step 10: Complete Installation
Save and close the setup wizard to launch the software.
- Click Save and Close to finish the installation
- The software will launch automatically
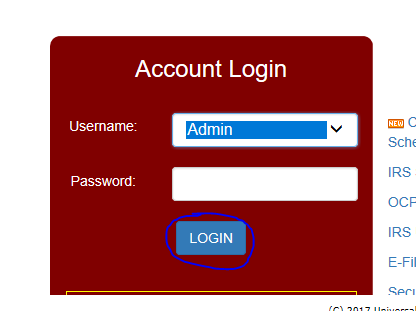
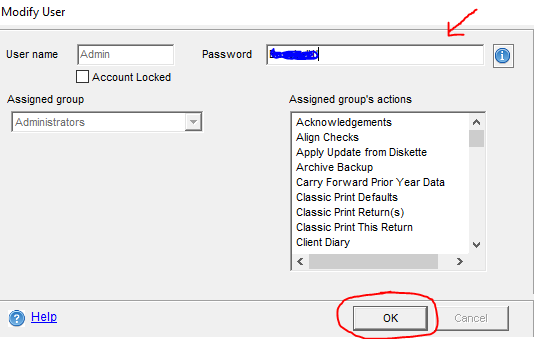
Step 11: Create Your Administrator Password
Set up your admin account with a strong password for security.
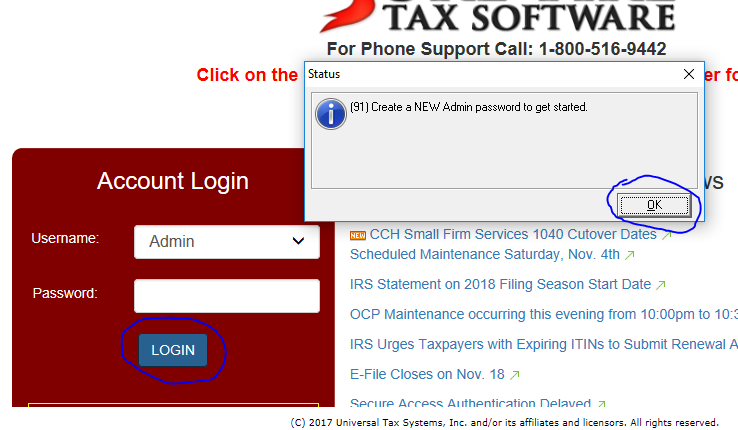
- When the software launches, log in without entering a password
- The system will prompt you to create a new password
- Enter your desired password and confirm it
- Click OK
Step 12: Select Prior Year Returns (If Applicable)
If you carried forward prior year data, select the returns you want to import.
- If you completed the carry forward step, a dialog will appear showing prior year returns
- Select the returns you need
- Click OK to import them
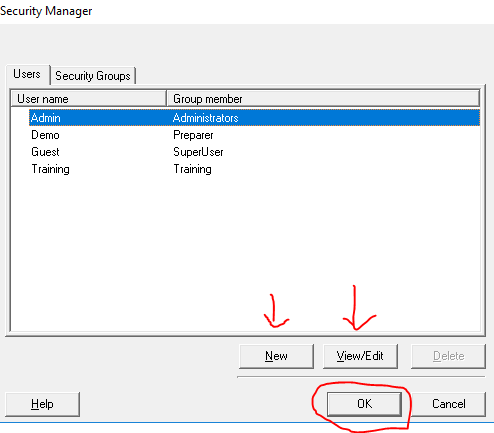
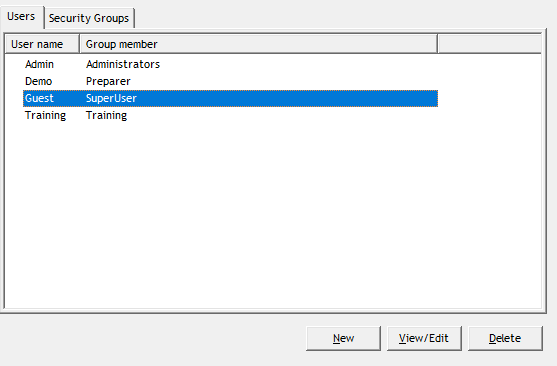
Step 13: Set Up Guest Account Password
Create a password for the guest account to allow other users limited access.
- Click on Guest Login
- Click View/Edit to configure the guest account
- Create a password for the guest account, just like you did for the administrator
- Your installation is now complete!
📞 Still Need Help?
If you are having trouble with installation or setup, contact our support team:
Phone: 1-800-516-9442
Tags: install,setup,getting-started